
The Dainty Maker Box No. 3 is a mixed media butterfly wall hanging. I had Mother's Day in mind when I created this maker box and I'm so excited for each of you to make it your own! This would be a fun craft to make for mom or with mom, but, really, these boxes are sweet for any occasion. I know that my girls and I definitely had a lot of fun making ours!
Whether you or your littles are neutral lovers, or the "color all the way" type, there is something for everyone with this maker box.
These maker boxes are made to be done together, to encourage quality time, that's why I don’t put an age limit on these projects. Depending on how old your child is, you may need to tweak the steps slightly in order to make it fun for everyone.
For example: My girls are 12 and almost 4 and they both loved this craft. My older daughter did it entirely independently and my younger daughter could do just about everything but cut the pattern and fabric on her own. I went ahead and cut out her patterns and fabric ahead of time to make it easier for her to do the project, and this allowed us to work on it step-by-step together.
This keepsake is meant to be kept for a lifetime, so we used two types of glue to help make that possible. My girls each use a low temp glue gun, which is warm, but not hot. (Here's the link to the glue gun.) We also used a tacky glue for some parts, which is best for use on fabrics. (This kind.)
*These glues can also be found at any craft store and are used for just about every maker box.
Be sure to tag @thedaintymaker on Instagram so I can see all your masterpieces!
1. Lay out all materials / supplies.


2. Cut out 6 pattern pieces
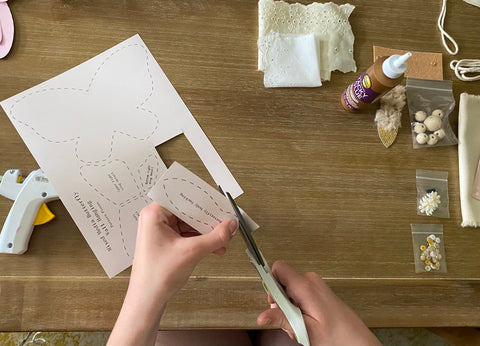

3. Place one of the two pieces of canvas (textured side down) in front of you and trace butterfly pattern.
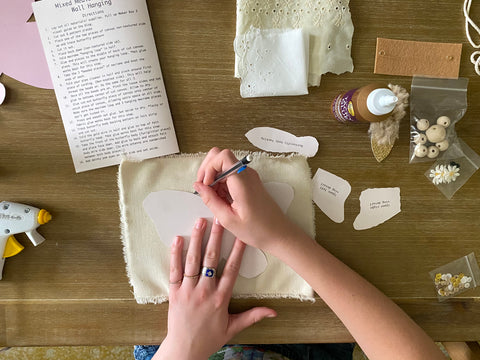
4. Cut it out. 
5. Place back down (textured side down). 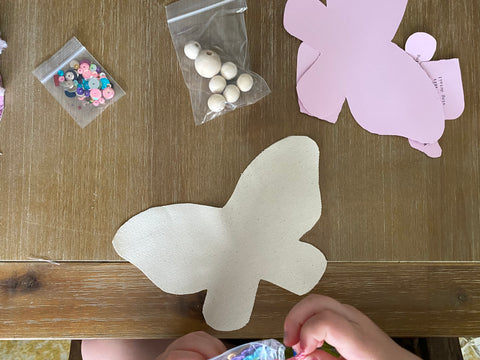
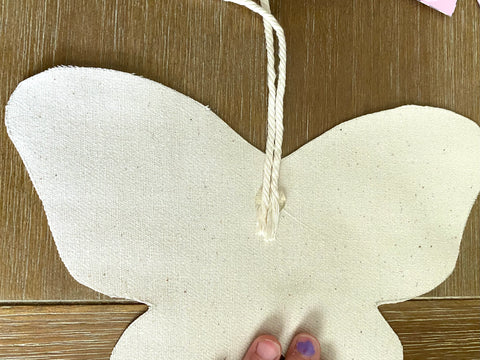
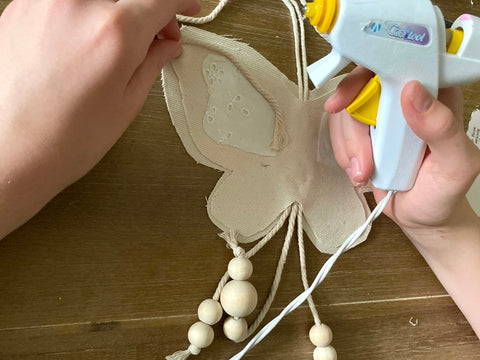
6. Fold macrame “hanging loop” in half.
7. Glue end pieces to the middle of the back of the cut canvas piece. This will create your hanging loop. *Hot glue works best for this step. 
8. Grab the 3 knotted pieces of macrame.
9. Fold your pipe cleaner in half and pinch around first piece of cording. (Non-knotted side). This will help thread the beads on. Do the same for all 3. 
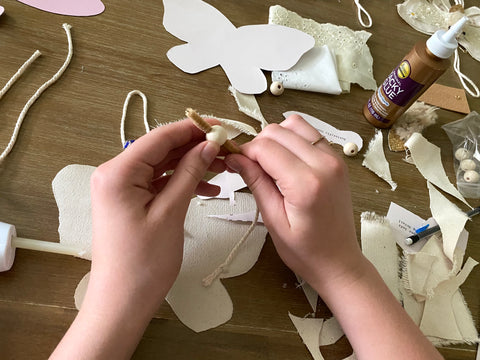

10. Once all the beads are on. Pinch the loose sides and hot glue to bottom center of cut canvas. Allow to dry.
*Note: There are two 8" pieces of knotted cording and one 10" piece. I used the longest one in the center and the two shorter ones on each side. 

11. Glue the cut-out butterfly piece of canvas onto the center of the uncut piece of canvas; allowing extra space on all side. (*Tacky glue works best for this step.) Make sure the macrame loop and 3 hanging macrame pieces don’t get tucked in. 

12. Press and smooth out glue. Set aside to dry. *Tacky or fabric glue works best for this step. 

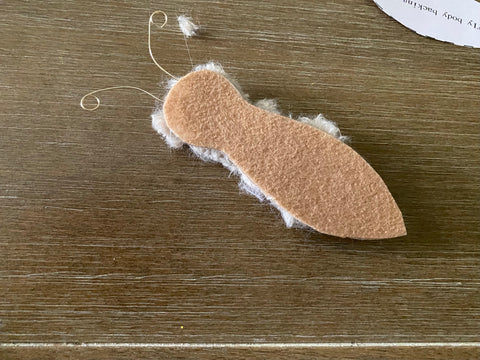
13. Trace butterfly body backing pattern on felt strip and cut out. 
14. Fold the gold wire in half and glue to the top of felt butterfly head.
(*Hot glue works best for this step.)

15. Take the front of the butterfly body (fur/glitter piece) and place face-down. Add glue to the back and attach felt body wire-side down. (So wire antenna are sandwiched between both body pieces.) 
16. Add dainty pom eyes on each side and set aside. 
17. Grab the canvas / macrame cording / bead piece that is now dried and cut out around the cut shape. I left a little extra around to give it a raw edge look. Be very careful not to cut the macrame loop and hanging pieces. Simply move them out of the way in those sections. 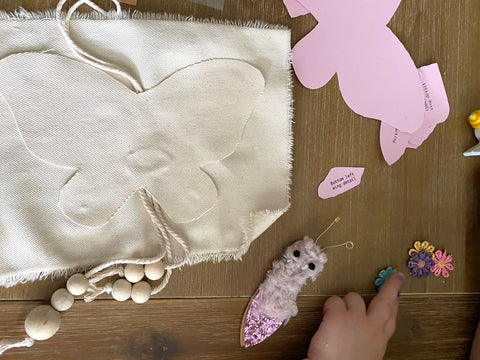

18. Now is the fun part! It’s time to decorate the wings any way you wish. You can use the pattern pieces to trace shapes out of fabric, use the “extra” macrame cording to make piping lines, add sequins, trim, etc. The possibilities are endless! 
You can also trace the inner wing pattern pieces out on the extra fabric and lace to glue on. 


19. Once the wings are decorated, glue butterfly body to center. *Hot glue works best for this step. 

20. Find the perfect place to hang your butterfly masterpiece! 
Happy making!
xx, Chrissy
Leave a comment